Setup AdminForth Authorization via Keycloak
· 3 min read

Keycloak is an open-source identity and access management solution that provides authentication and authorization services. It can be used to secure applications and services by managing user identities, roles, and permissions.
In this guide, we will walk you through the process of setting up AdminForth authorization via Keycloak. Most important we will show you how to set up Keycloak in a Docker container and configure it to work with AdminForth.
Prerequisites
- Docker installed on your machine
- Basic knowledge of Docker and Docker Compose
Step 1: Create a Docker Compose File
Create a docker-compose.yml file in your project directory. This file will define the Keycloak service and its configuration.
services:
  pg:
    image: postgres:latest
    environment:
      POSTGRES_USER: demo
      POSTGRES_PASSWORD: demo
      POSTGRES_DB: demo
    ports:
      - "5432:5432"
    volumes:
      - pg-data:/var/lib/postgresql/data
  keycloak:
    image: quay.io/keycloak/keycloak:latest
    command: start-dev
    environment:
      - KEYCLOAK_ADMIN=admin
      - KEYCLOAK_ADMIN_PASSWORD=admin
      - DB_VENDOR=postgres
      - DB_ADDR=pg
      - DB_DATABASE=demo
      - DB_USER=demo
      - DB_PASSWORD=demo
    ports:
      - "8080:8080"
    depends_on:
      - pg
    volumes:
      - keycloak-data:/opt/keycloak/data

volumes:
  keycloak-data:
Run service:
docker compose -p af-dev-demo up -d --build --remove-orphans --wait
Step 2: Singn in to Keycloak and Create a Keycloak Realm
- Open the Keycloak UI at
http://localhost:8080/. - Sign in with the credentials
adminandadmin.
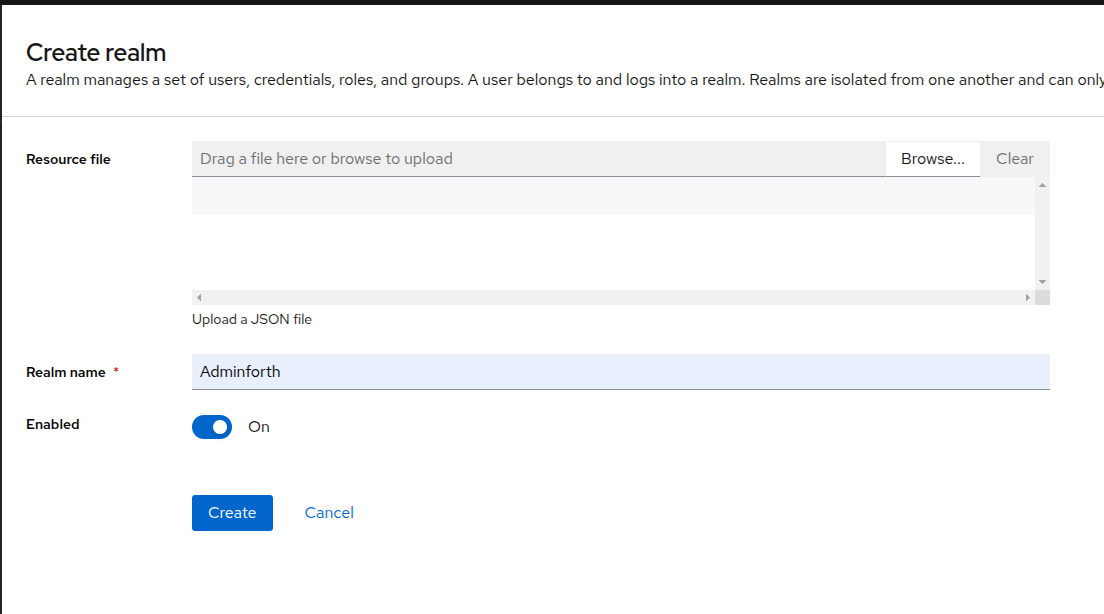
- Select the "Realms" tab and click
Create Realm.
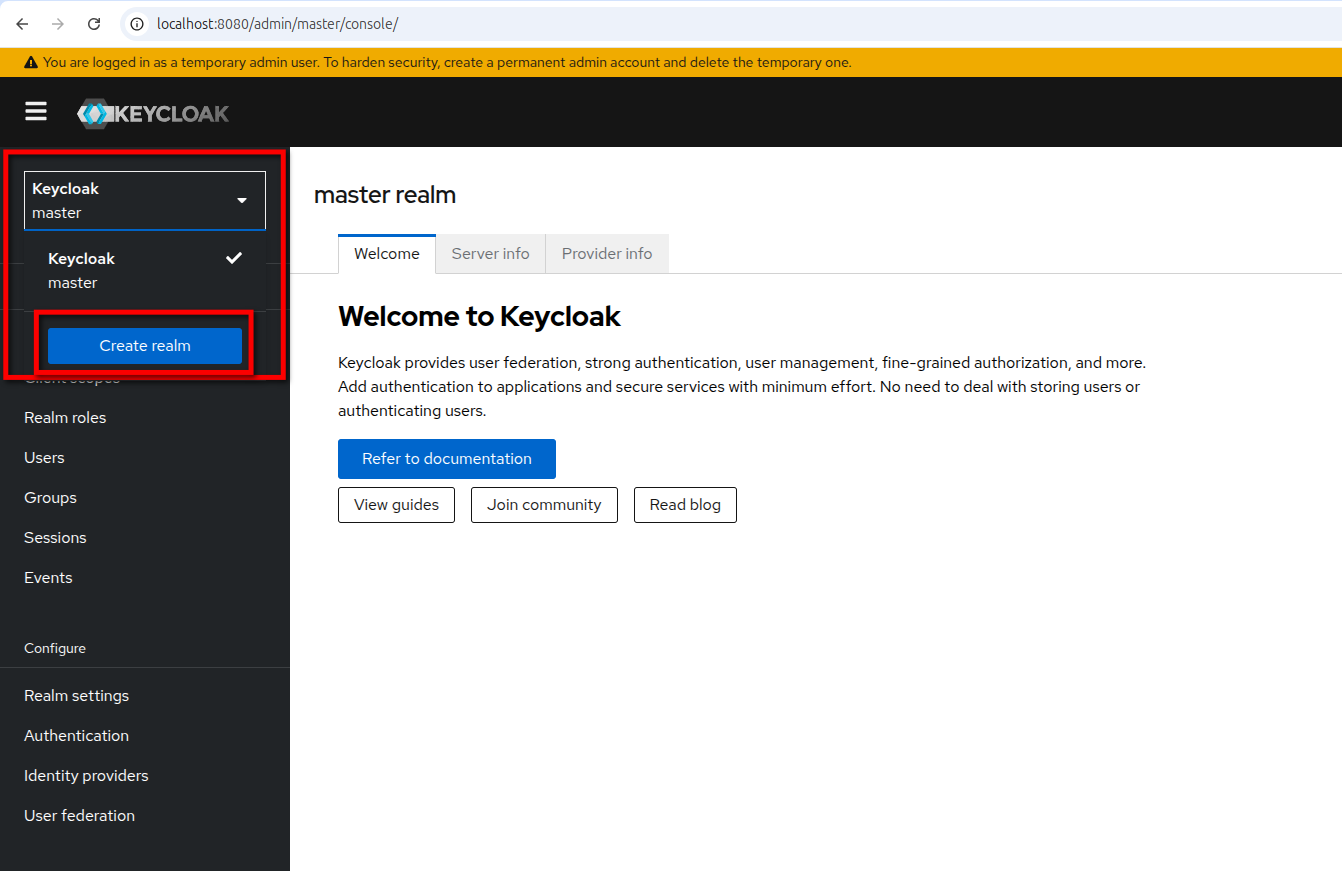
- Enter a name for your realm and click
Create.
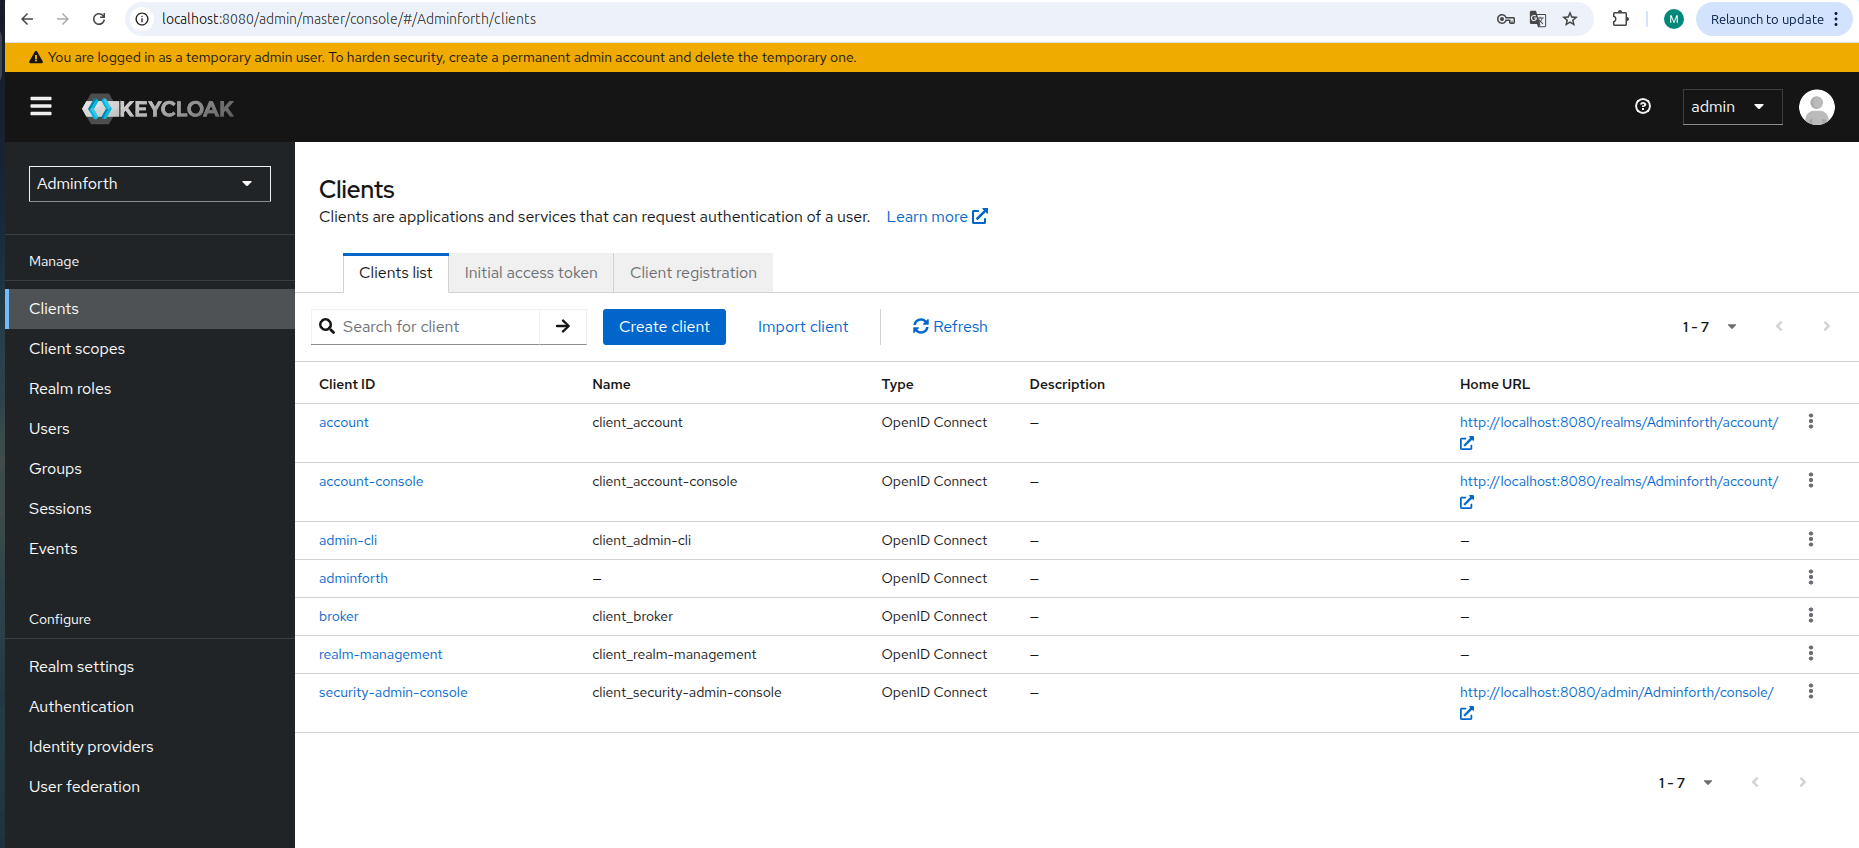
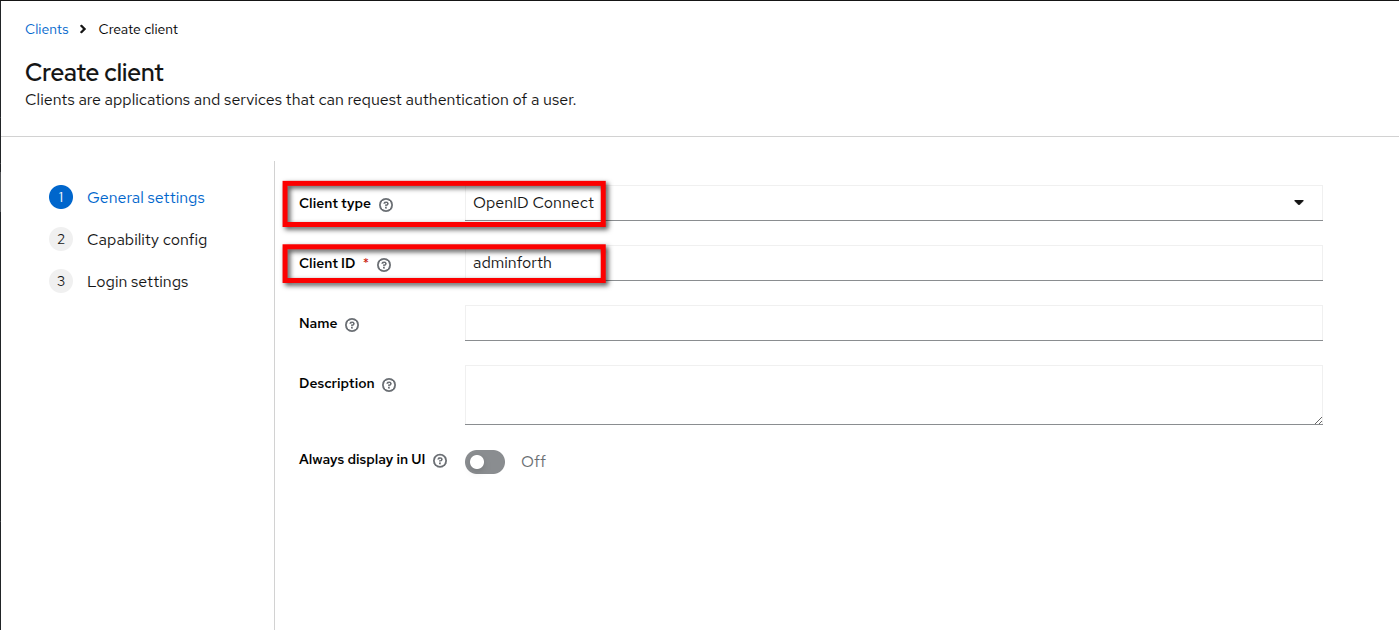
Step 3: Create a Keycloak Client
- Go to
Clientstab and clickCreate Client.
- Choose
OpenID Connect, enter a client ID for your client and clickNext.
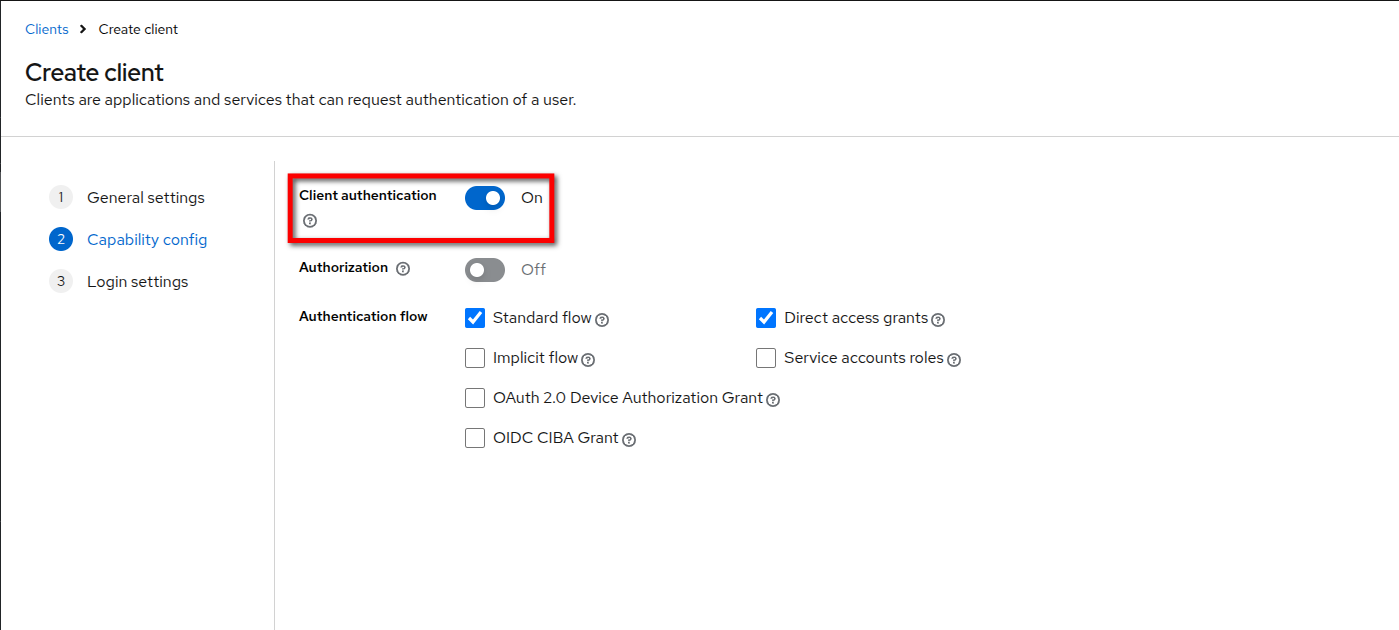
- Swith
Client authenticationtoOnand clickNext.
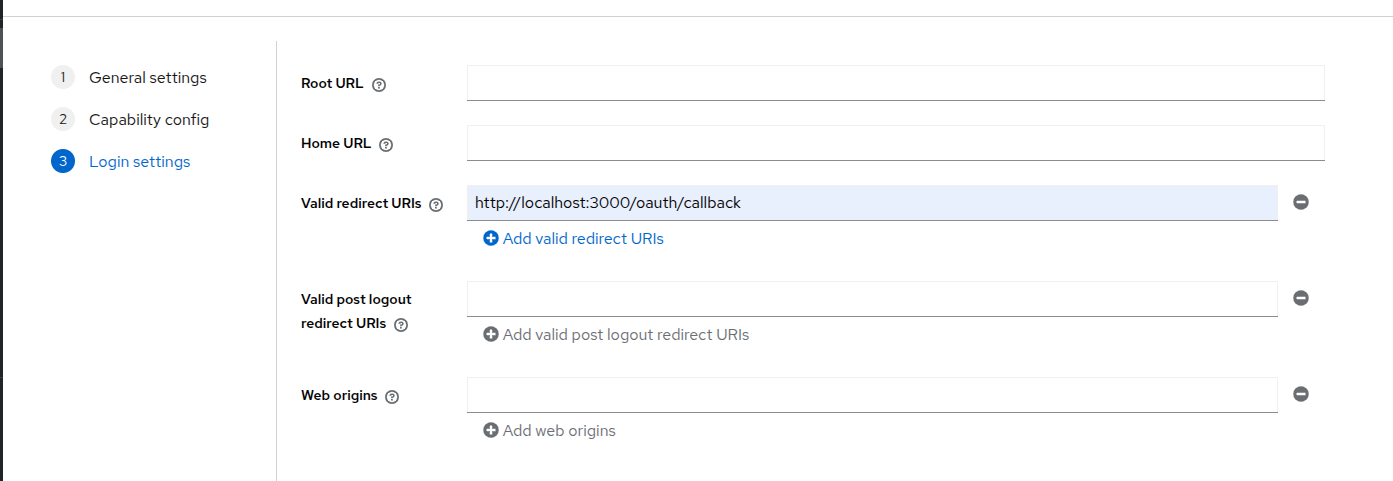
- Enter a
Valid redirect URIand clickSave.
- In the
Client detailsgo toCredentialstab and copy theClient secret.
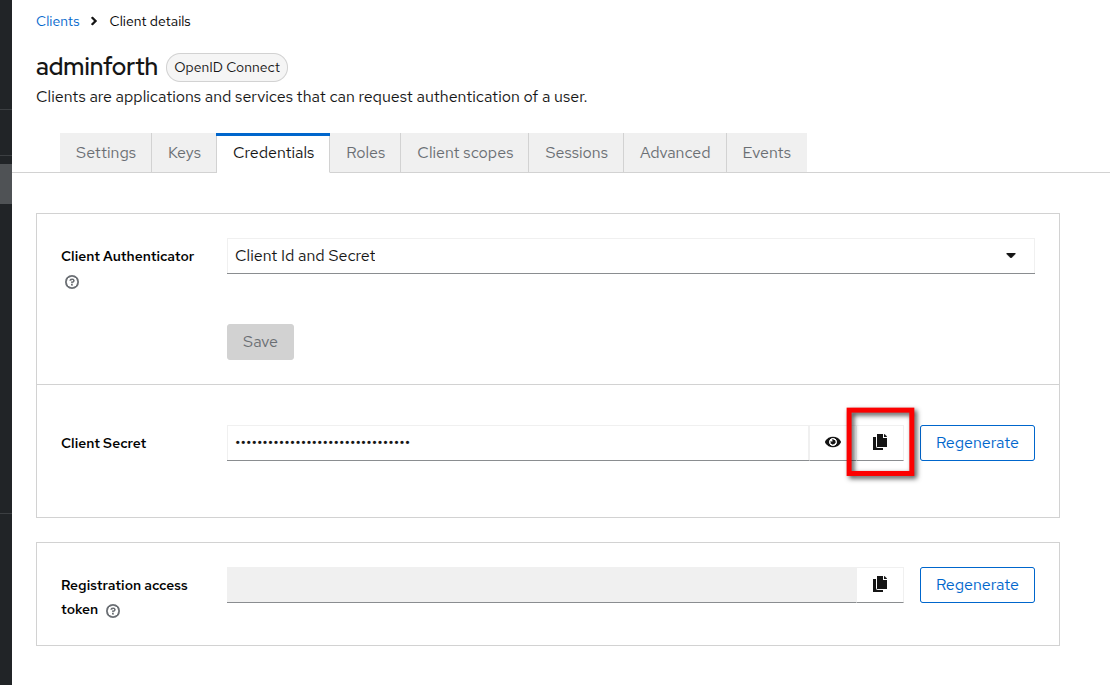
- Add the credentials to your
.envfile:
KEYCLOAK_CLIENT_ID=your_keycloak_client_id
KEYCLOAK_CLIENT_SECRET=your_keycloak_client_secret
KEYCLOAK_REALM=your_keycloak_realm
KEYCLOAK_URL=http://localhost:8080
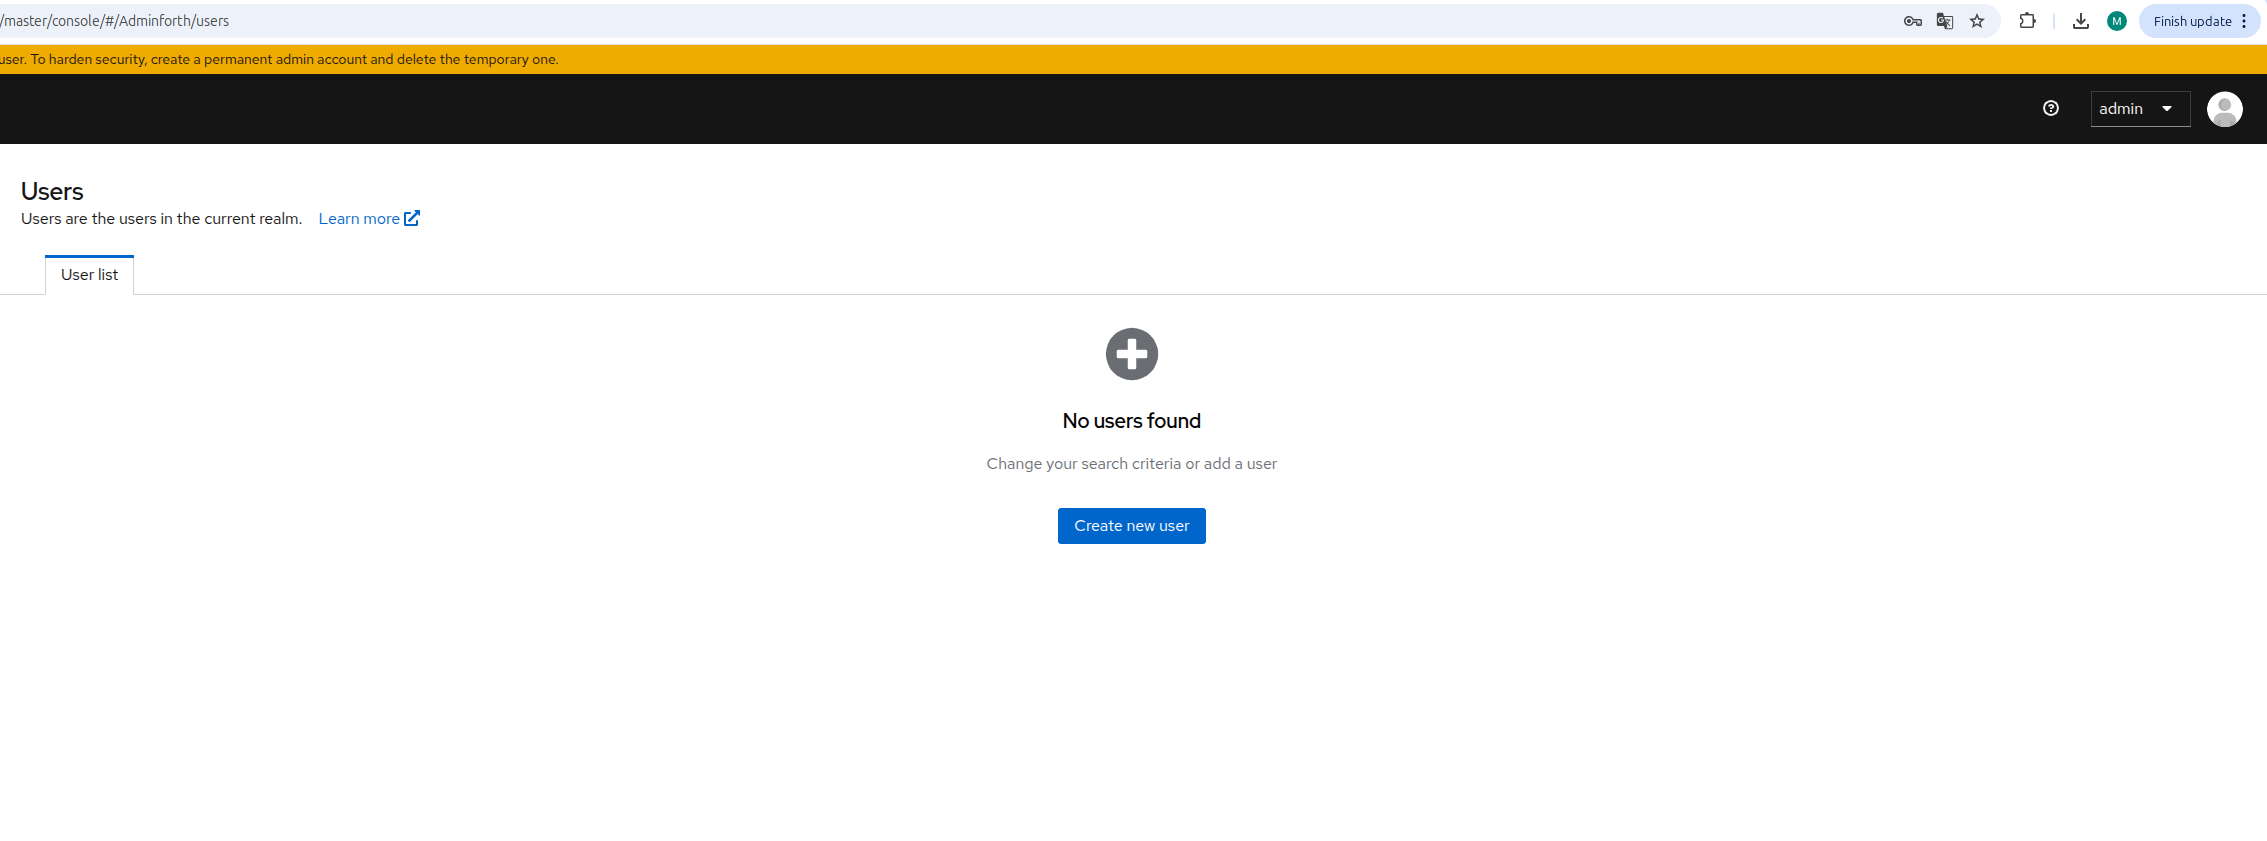
Step 4: Create a Keycloak User
- Go to
Userstab and clickCreate new user.
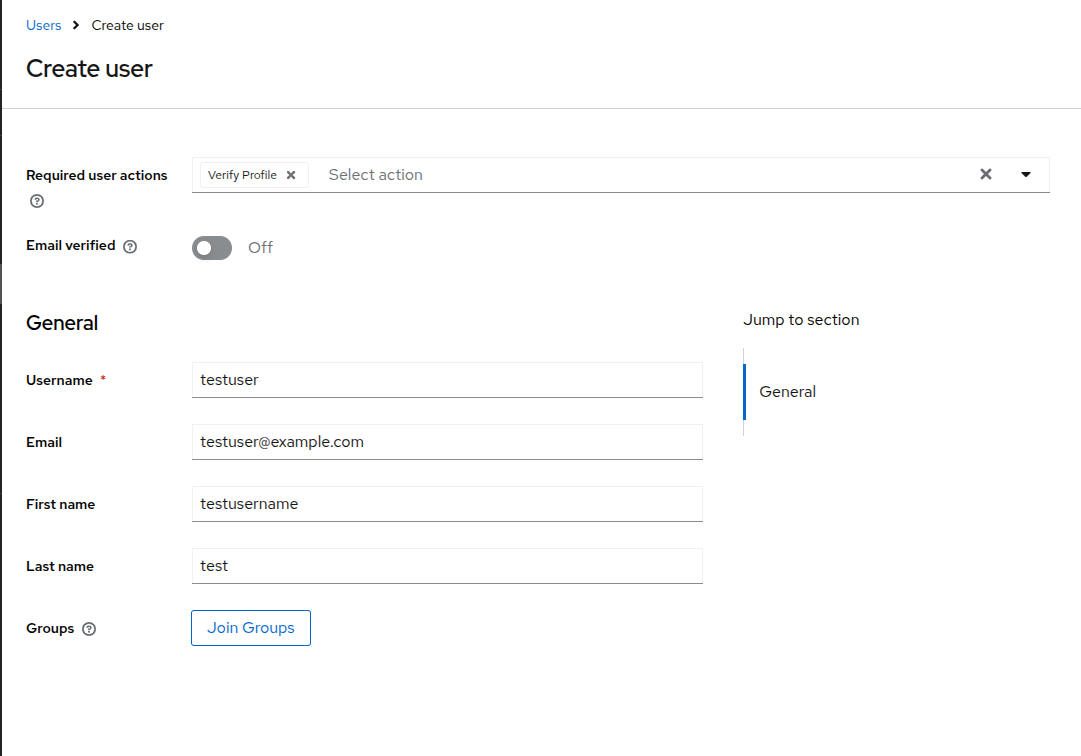
- Enter a
Username,Email,First nameandLast nameand clickCreate.
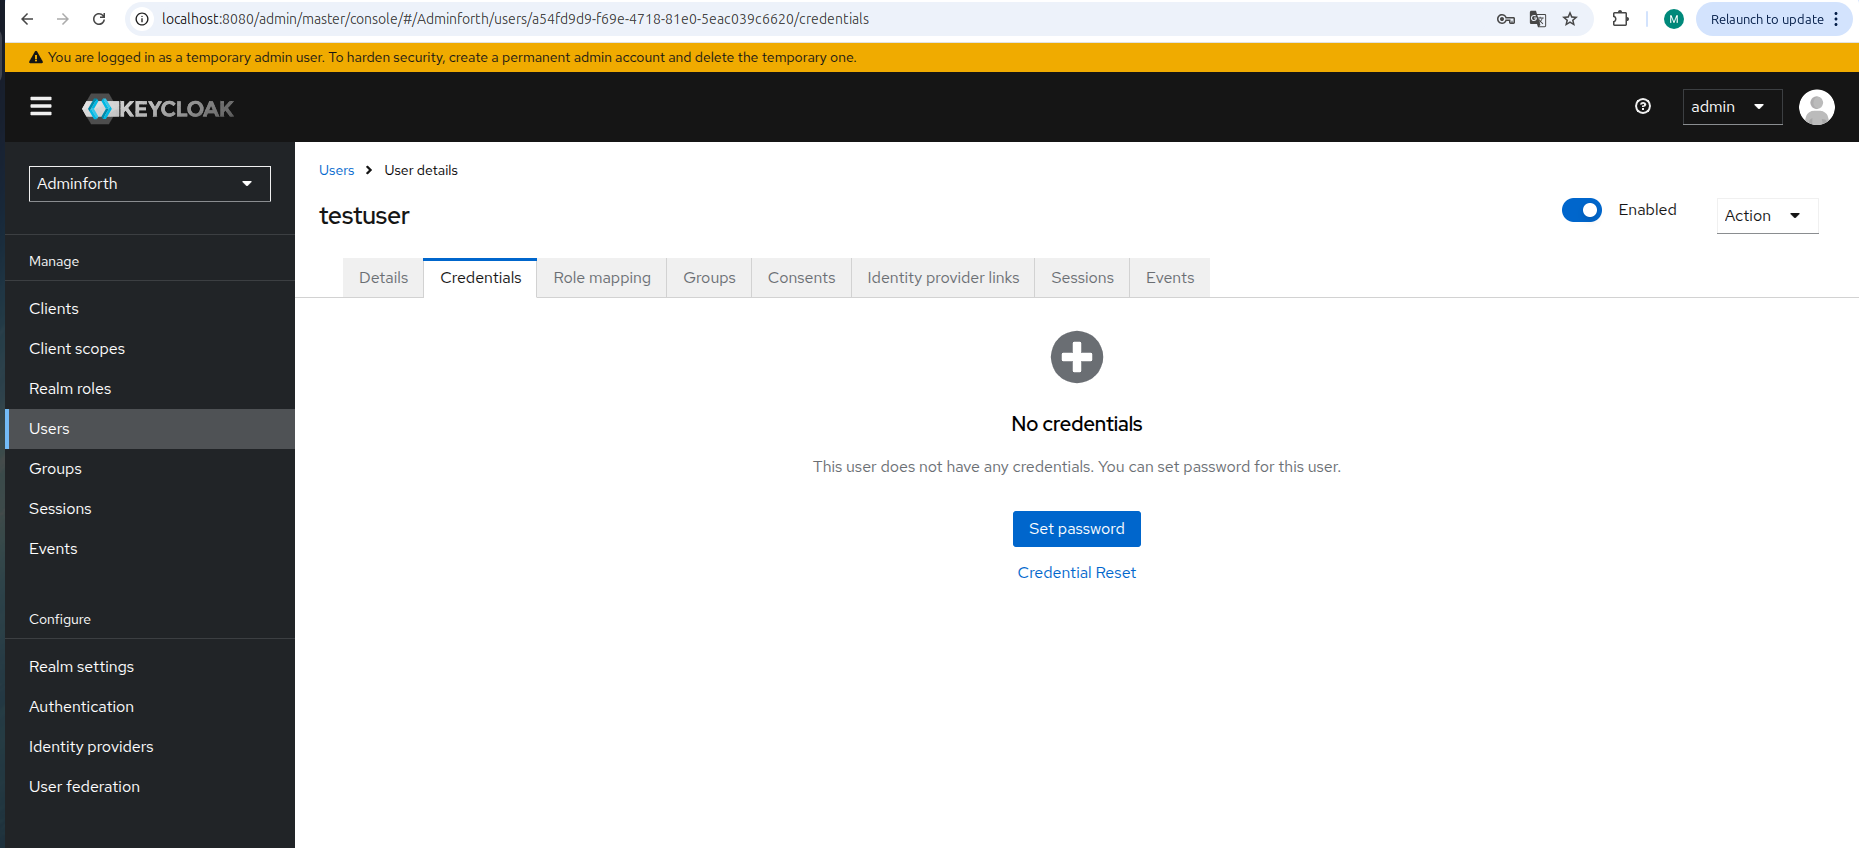
- In the
User detailsgo toCredentialstab and clickSet password.
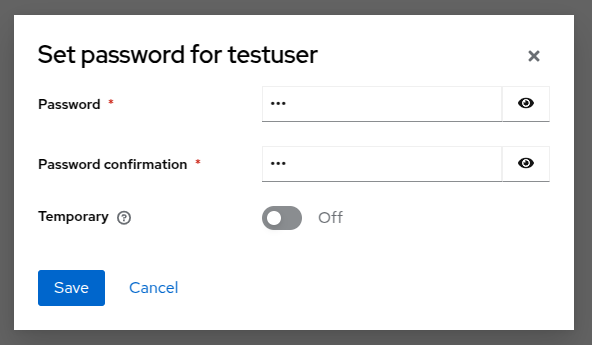
- Enter a
Password, turnTemporarytoOffand clickSave.
Finally, you can sign in to AdminForth with your Keycloak credentials. (if user with the same email exists in AdminForth)