Menu & Header
Icons
Adminforth uses Iconify icons everywhere, including the menu.
You can set an icon for each menu item using the icon field.
You can use any icon from the Iconify Gallery in the format <setname>:<icon>. For example, flowbite:brain-solid.
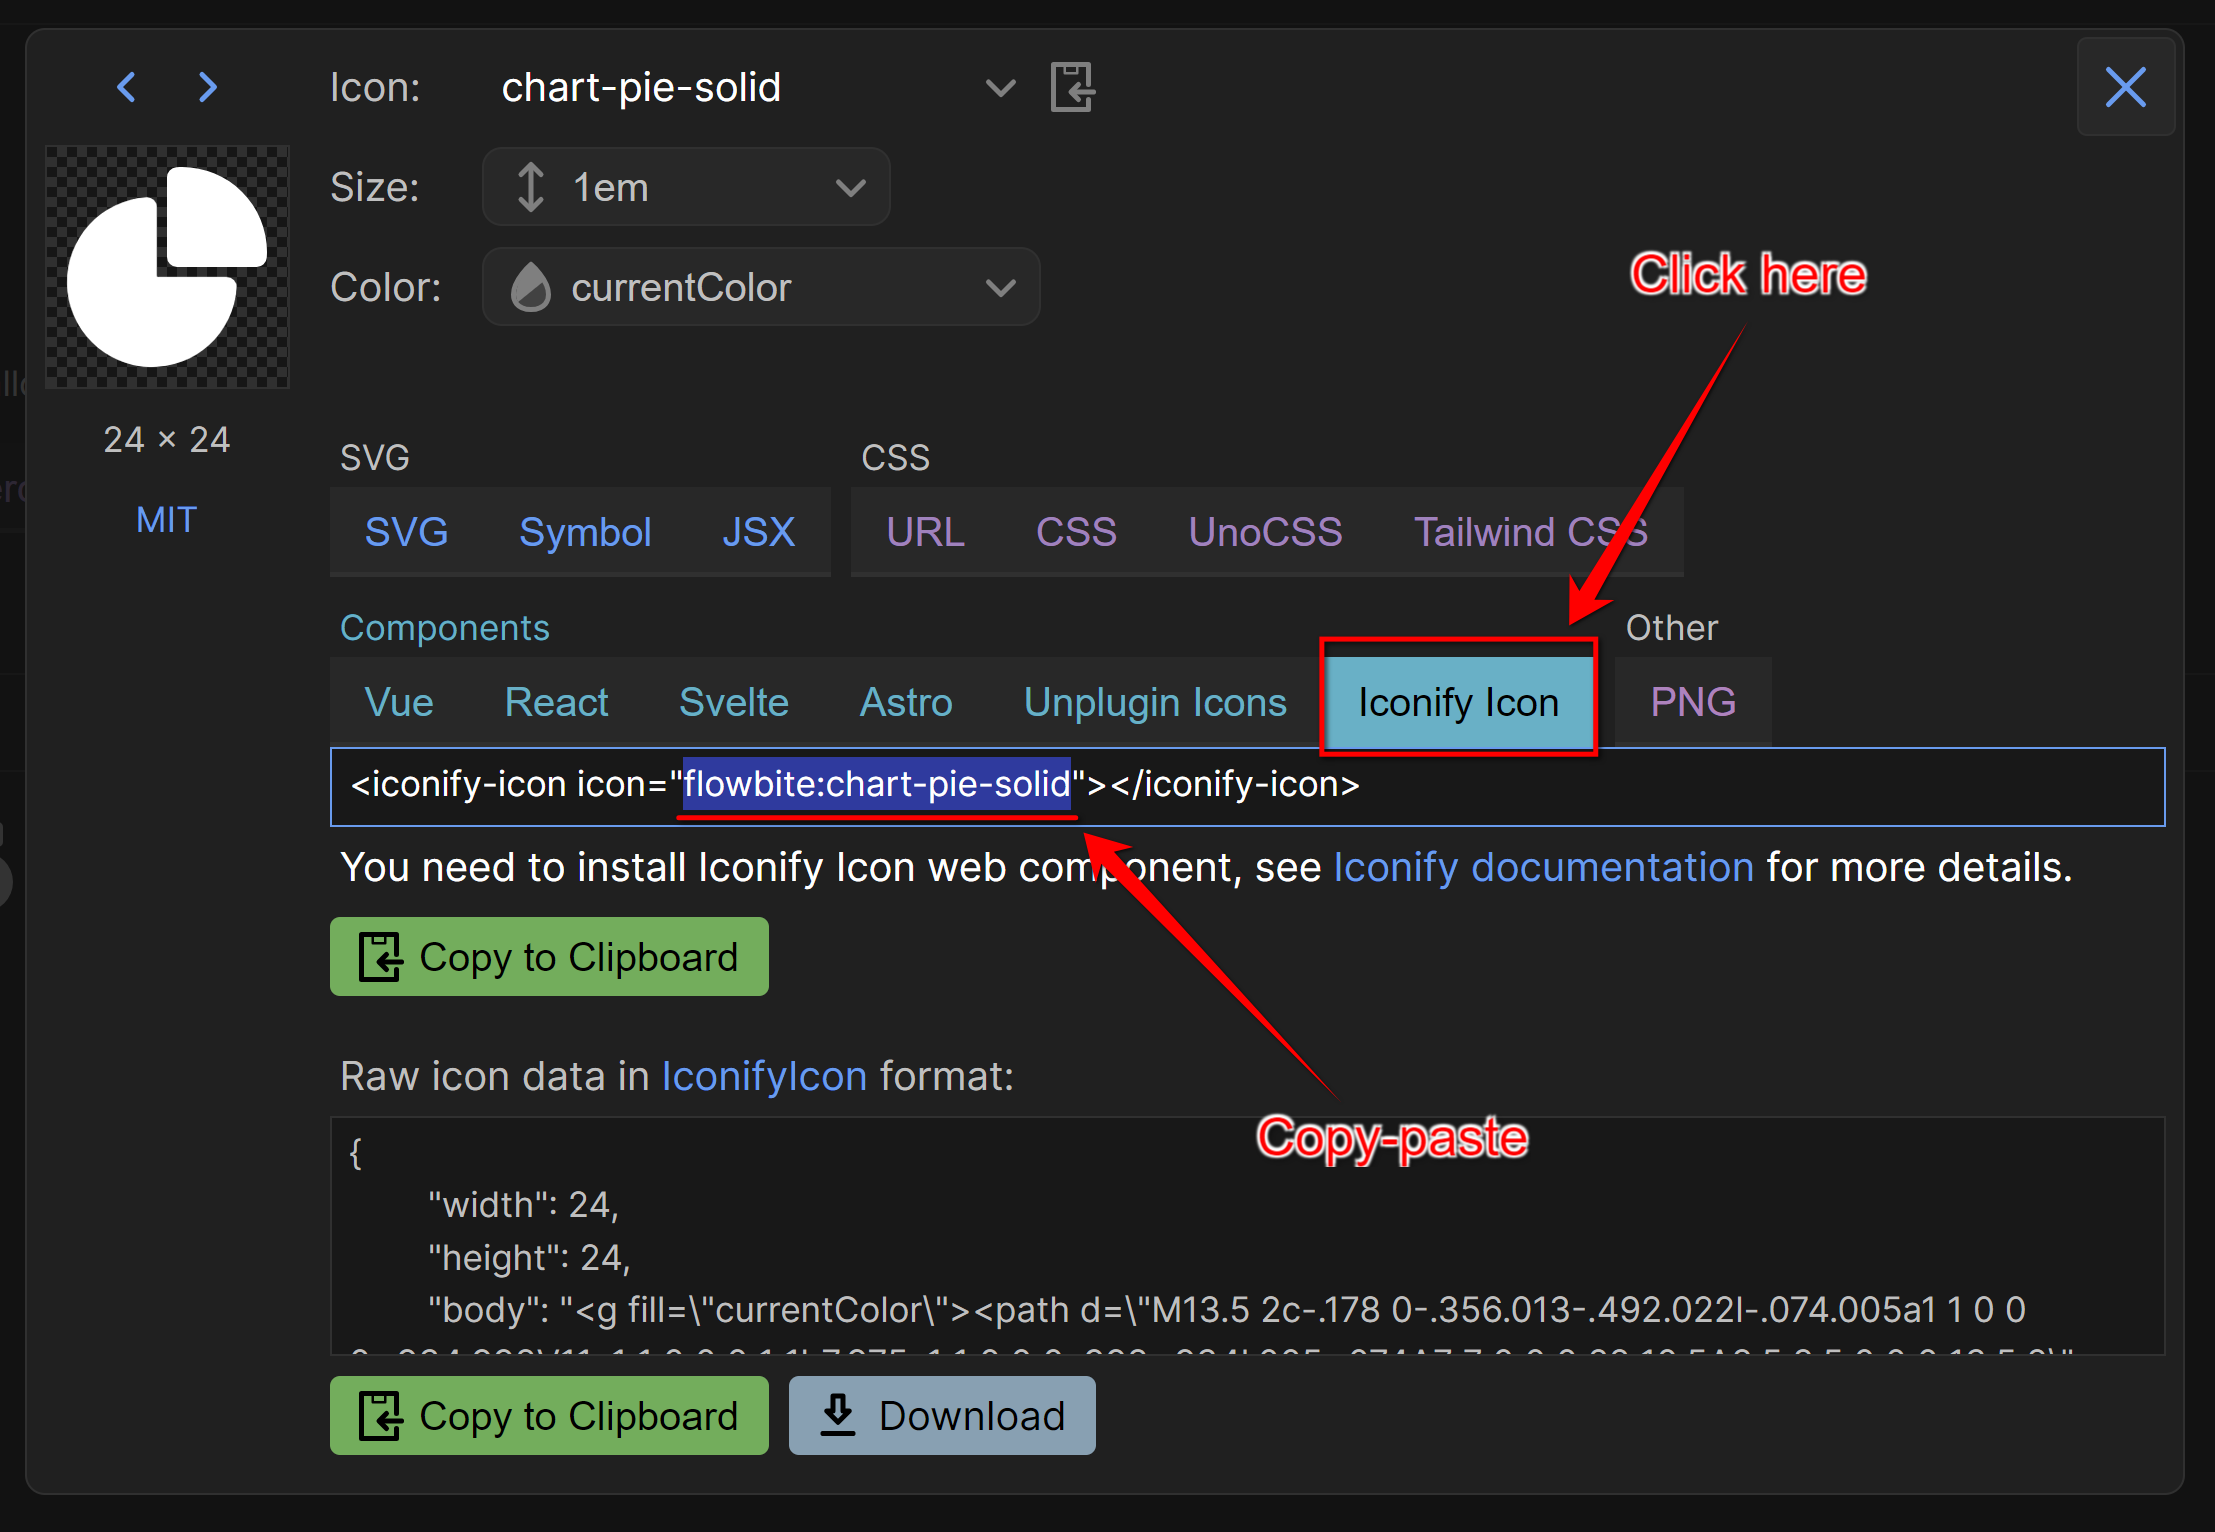
👋 With deep respect to Alex Kozack who created great iconify-prerendered MIT package used by AdminForth. It uses a scheduled job to prerender all icons from Iconify to icons font and then publish them to npm
Grouping
You can created a group of menu items with open or close:
E.g. create group "Blog" with Items who link to resource "posts" and "categories":
  {
    ...
    menu: [
      {
        label: 'Blog',
        icon: 'flowbite:brain-solid',
        open: true,
        children: [
          {
            label: 'Posts',
            icon: 'flowbite:book-open-outline',
            resourceId: 'posts',
          },
          {
            label: 'Categories',
            icon: 'flowbite:folder-duplicate-outline',
            resourceId: 'categories',
          },
        ],
      },
      {
        label: 'Users',
        icon: 'flowbite:folder-duplicate-outline',
        resourceId: 'adminuser',
      },
    ],
    ...
  }
If it is rare Group you can make it open: false so it would not take extra space in menu, but admin users will be able to open it by clicking on the group name.
Visibility of menu items
You might want to hide some menu items from the menu for some users.
To do it use visible field in the menu item configuration:
{
  ...
  menu: [
    {
      label: 'Categories',
      icon: 'flowbite:folder-duplicate-outline',
      resourceId: 'categories',
      visible: adminUser => adminUser.dbUser.role === 'admin'
    },
  ],
  ...
}
👆 Please note that this will just hide menu item for non
adminusers, but resource pages will still be available by direct URLs. To limit access, you should also use allowedActions field in the resource configuration in addition to this.
Gap
You can put one or several gaps between menu items:
{
  ...
  menu: [
    {
      label: 'Posts',
      icon: 'flowbite:book-open-outline',
      resourceId: 'posts',
    },
    {
      type: 'gap',
    },
    {
      type: 'gap',
    },
    {
      label: 'Categories',
      icon: 'flowbite:folder-duplicate-outline',
      resourceId: 'categories',
    },
  ],
  ...
}
Divider
To split menu items with a line you can use a divider:
{
  ...
  menu: [
    {
      label: 'Posts',
      icon: 'flowbite:book-open-outline',
      resourceId: 'posts',
    },
    {
      type: 'divider',
    },
    {
      label: 'Categories',
      icon: 'flowbite:folder-duplicate-outline',
      resourceId: 'categories',
    },
  ]
  ...
}
Heading
You can add a heading to the menu:
{
  ...
  menu: [
    {
      type: 'heading',
      label: 'Editings',
    },
    {
      label: 'Posts',
      icon: 'flowbite:book-open-outline',
      resourceId: 'posts',
    },
    {
      label: 'Categories',
      icon: 'flowbite:folder-duplicate-outline',
      resourceId: 'categories',
    },
  ],
  ...
}
Badge
You can add a badge near the menu item title (e.g. to get count of unread messages). To do this, you need to add a badge field to the menu item configuration:
{
  ...
  menu: [
    {
      label: 'Posts',
      icon: 'flowbite:book-open-outline',
      resourceId: 'posts',
      badge: async (adminUser: AdminUser) => {
        return 10
      },
      badgeTooltip: 'New posts',  // explain user what this badge means
      ...
    },
  ],
  ...
}
Badge function is async, but all badges are loaded in "lazy" to not block the menu rendering.
Refreshing the badges
Most times you need to refresh the badge from some backend API or hook. To do this you can do next:
- Add
itemIdto menu item to identify it:
{
  ...
  menu: [
    {
      label: 'Posts',
      icon: 'flowbite:book-open-outline',
      resourceId: 'posts',
      itemId: 'postsMenuItem',
      badge: async (adminUser: AdminUser) => {
        return 10
      },
      badgeTooltip: 'Unverified posts',  // explain user what this badge means
      ...
    },
  ],
  ...
}
- On backend point where you need to refresh the badge, you can publish a message to the websocket topic:
{
  resourceId: 'posts',
  table: 'posts',
  hooks: {
    edit: {
      afterSave: async ({ record, adminUser, resource, adminforth }) => {
        const newCount = await adminforth.resource('posts').count(Filters.EQ('verified', false));
        adminforth.websocket.publish(`/opentopic/update-menu-badge/postsMenuItem`, { badge: newCount });
        return { ok: true }
      }
    }
  }
}
👆 Please note that any
/opentopic/publish can be listened by anyone without authorization. If count published in this channel might be a subject of security or privacy concerns, you should add publish authorization to the topic.
More rare case when you need to refresh menu item from the frontend component. You can achieve this by calling the next method:
import { useAdminforth } from '@/adminforth';

const { menu } = useAdminforth();

menu.refreshMenuBadges()
Avatars
If you want your user to have custom avatar you can use avatarUrl:
auth: {

  ...

  avatarUrl: async (adminUser)=> {
    return `https://${process.env.STORAGE_PROVIDER_PATH}/${adminUser.dbUser.avatar_path}`
  },

  ...

}
This syntax can be use to get unique avatar for each user of hardcode avatar, but it makes more sense to use it with upload plugin
Custom URL
You can use the url property to override default navigation. This is useful for linking to pre-filtered lists or external sites.
menu: [
    {
      label: 'Posts',
      icon: 'flowbite:book-open-outline',
      resourceId: 'posts',
      url: '/resource/aparts?filter__country__in=["DE"]',
      isOpenInNewTab: true // You can also add isOpenInNewTab: true to open the link in a new browser tab
    },
  ],
👆 Please note start internal URLs with a leading / to ensure correct routing.