Upload
This plugin allows you to upload files to Amazon S3 bucket.
Installation
npm i @adminforth/upload --save
Plugin needs some storage adapter to store files and serve them for preview.
Using Amazon S3 storage adapter
Amazon S3 is probably the most popular storage service.
npm i @adminforth/storage-adapter-amazon-s3 --save
- Go to https://aws.amazon.com and login.
- Go to Services -> S3 and create a bucket. Put in bucket name e.g.
my-reality-bucket. Leave all settings unchanged (ACL Disabled, Block all public access - checked) - Go to bucket settings, Permissions, scroll down to Cross-origin resource sharing (CORS) and put in the following configuration:
[
    {
        "AllowedHeaders": [
            "*"
        ],
        "AllowedMethods": [
            "HEAD",
            "PUT",
            "GET"
        ],
        "AllowedOrigins": [
            "http://localhost:3500"
        ],
        "ExposeHeaders": []
    }
]
☝️ In AllowedOrigins add all your domains. For example if you will serve admin on
https://example.com/adminyou should add"https://example.com"to AllowedOrigins:[
"https://example.com",
"http://localhost:3500"
]Every character matters, so don't forget to add
http://orhttps://!
- Go to Services -> IAM and create a new user. Put in user name e.g.
my-reality-user. - Attach existing policies directly ->
AmazonS3FullAccess. Go to your user ->Add permissions->Attach policies directly->AmazonS3FullAccess - Go to Security credentials and create a new access key. Save
Access key IDandSecret access key. - Add credentials in your
.envfile:
...
NODE_ENV=development

AWS_ACCESS_KEY_ID=your_access_key_id
AWS_SECRET_ACCESS_KEY=your_secret_access_key
- Add credentials in your
.env.localfile:
...
AWS_REGION=your_bucket_region
AWS_BUCKET_NAME=your_bucket_name
Now add a column for storing the path to the file in the database, add this statement to the ./schema.prisma:
model apartments {
  id                String     @id
  created_at        DateTime?
  title             String
  square_meter      Float?
  price             Decimal
  number_of_rooms   Int?
  description       String?
  country           String?
  listed            Boolean
  realtor_id        String?
  apartment_image   String?
}
Migrate prisma schema:
npm run makemigration -- --name add-apartment-image ; npm run migrate:local
Add column to aparts resource configuration:
import UploadPlugin from '@adminforth/upload';
import AdminForthAdapterS3Storage from '@adminforth/storage-adapter-amazon-s3'
import { randomUUID } from 'crypto';

export const admin = new AdminForth({
  ...
  resourceId: 'aparts',
  columns: [
    ...
    {
      name: 'apartment_image',
      showIn: { all: true, filter: false }, // for create and edit pages plugin put's it's own file dropzone widget, for show and list pages it put's preview
    }
    ...
  ],
  plugins: [
    ...
    new UploadPlugin({
      storageAdapter: new AdminForthAdapterS3Storage({
        bucket: process.env.AWS_BUCKET_NAME,
        region: process.env.AWS_REGION,
        accessKeyId: process.env.AWS_ACCESS_KEY_ID,
        secretAccessKey: process.env.AWS_SECRET_ACCESS_KEY,
      }),
      pathColumnName: 'apartment_image',
      allowedFileExtensions: ['jpg', 'jpeg', 'png', 'gif', 'webm', 'webp'],
      maxFileSize: 1024 * 1024 * 20, // 20 MB
      filePath: ({originalFilename, originalExtension, contentType}) =>
            `aparts/${new Date().getFullYear()}/${randomUUID()}-${originalFilename}.${originalExtension}`,
    })
  ]

  ...

});
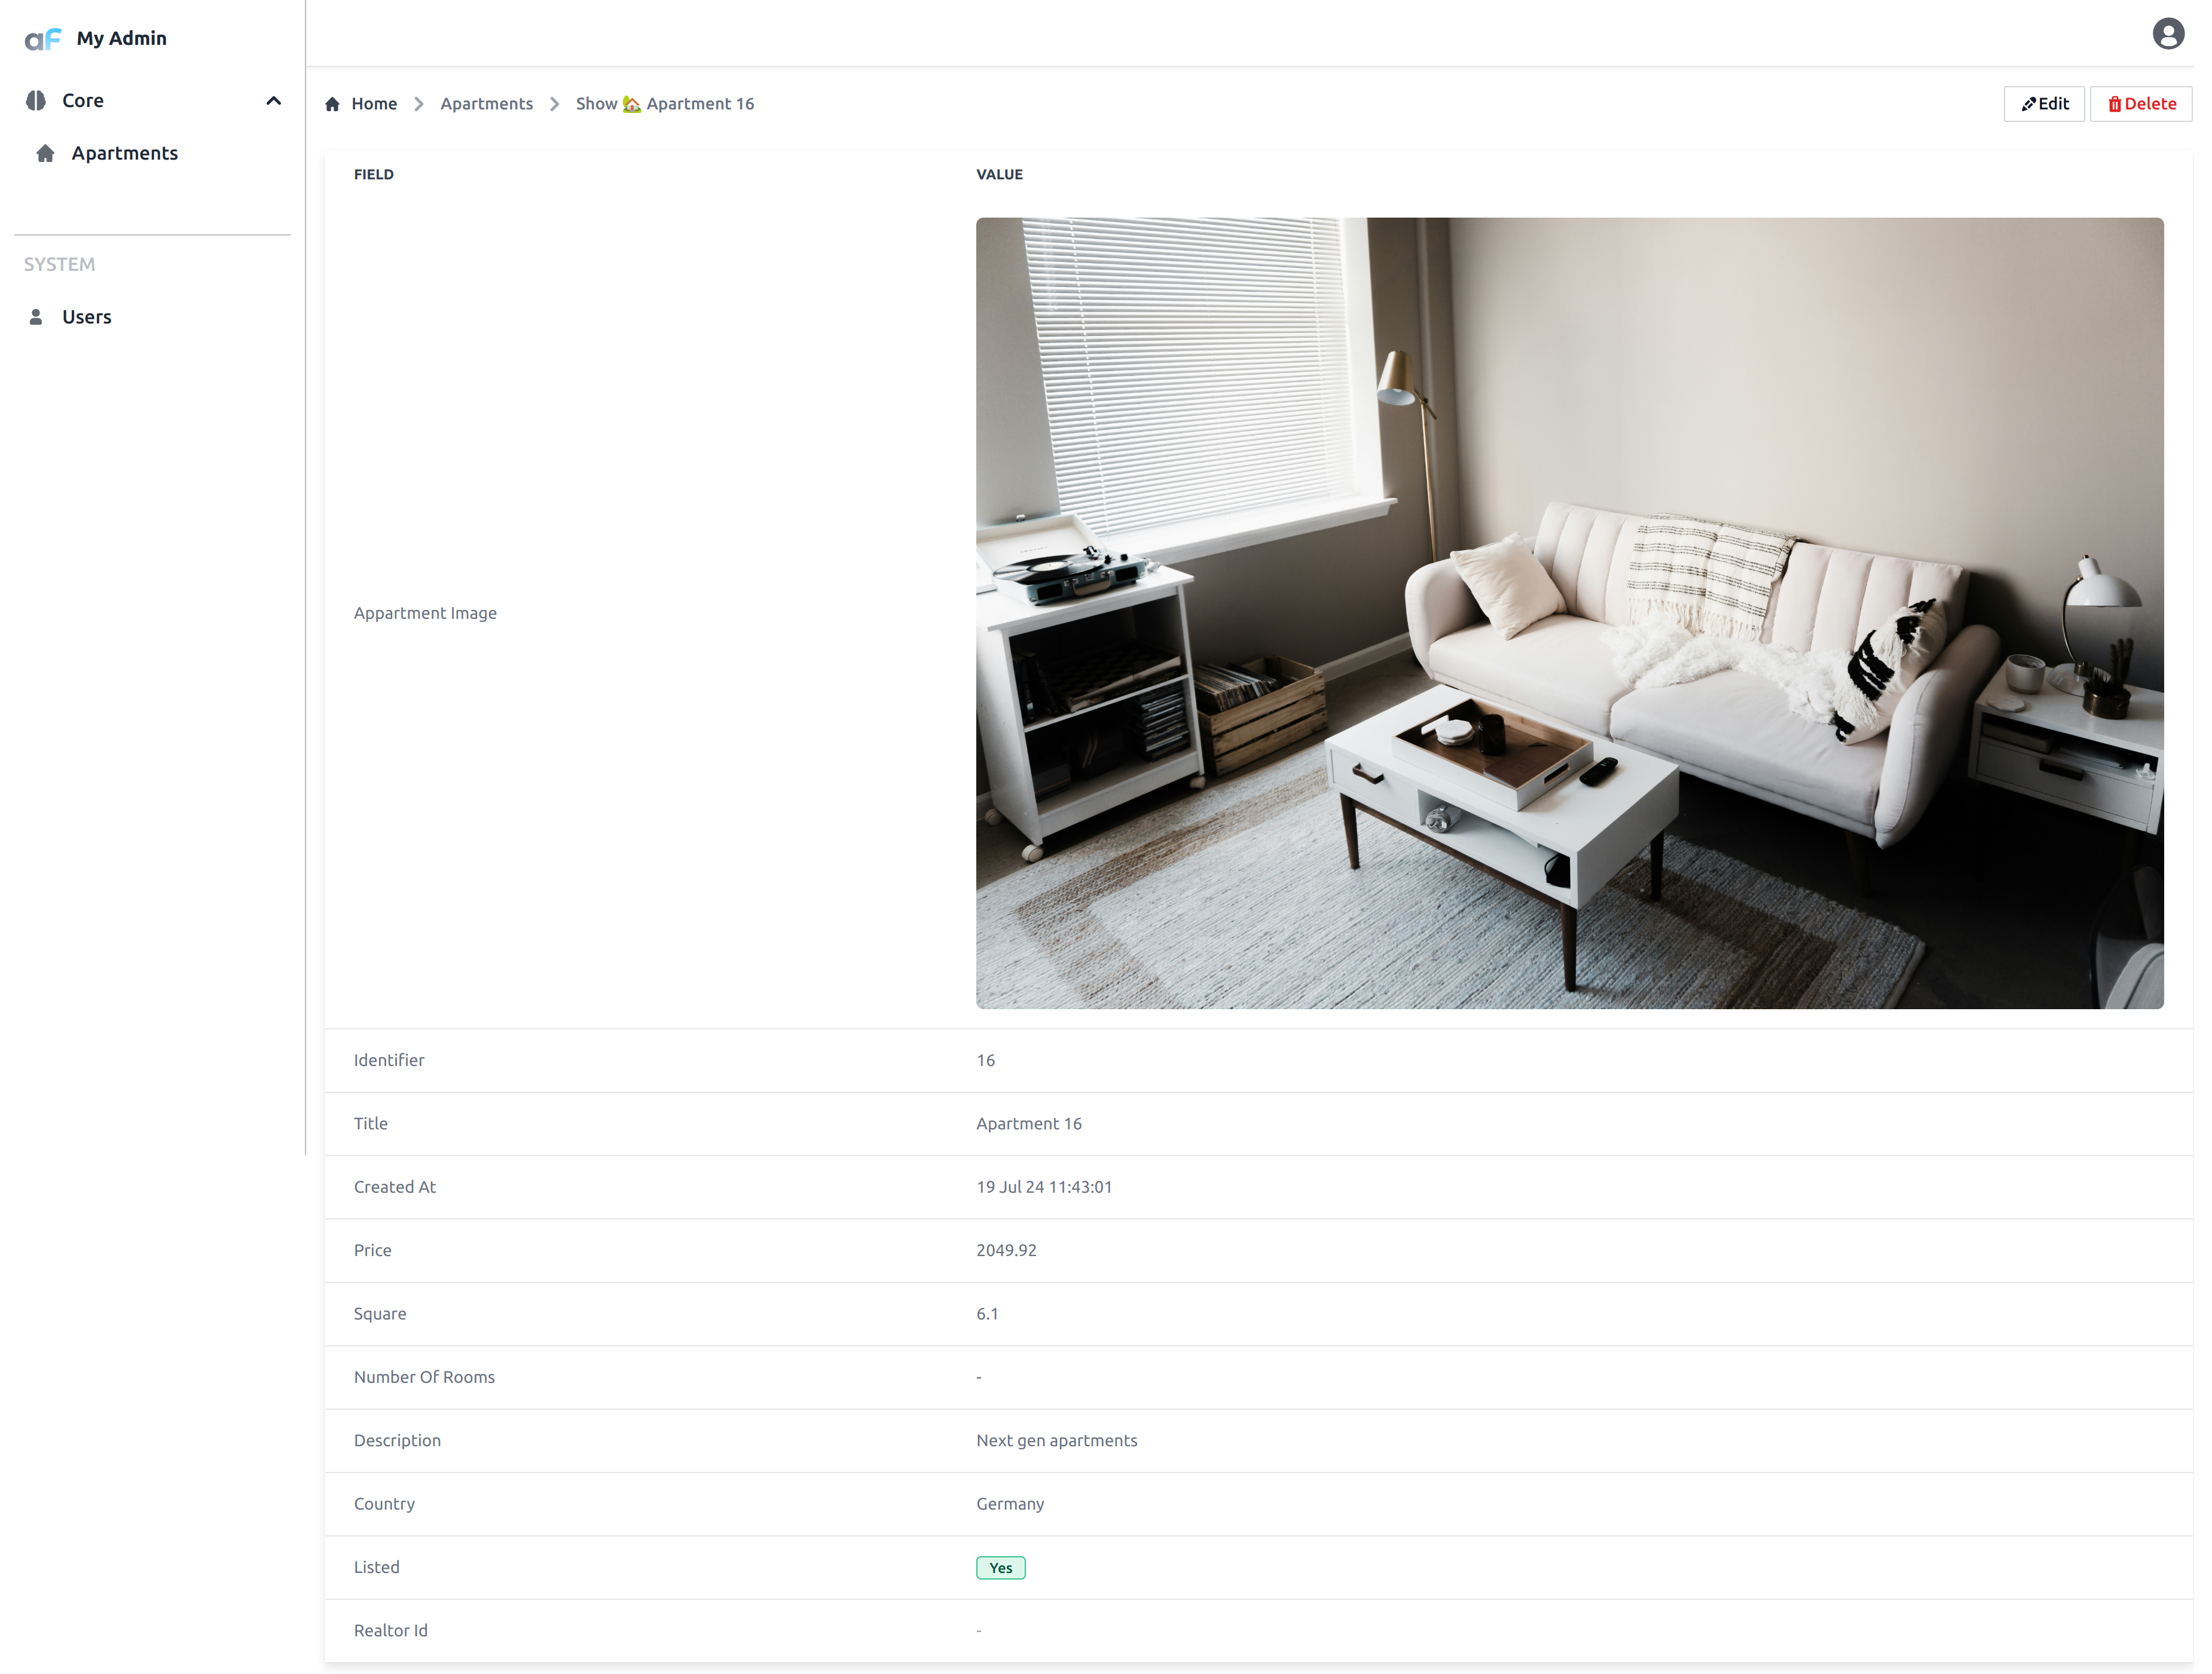
Here you can see how the plugin works:
This setup will upload files to S3 bucket with private ACL and save path to file (relative to bucket root) in apartment_image column.
Once you will go to show or list view of aparts resource you will see preview of uploaded file by using presigned temporary URLs
which are generated by plugin:
☝ When upload feature is used on record which already exists in database (from 'edit' page), filePath callback will receive additional parameter
recordwith all values of record. Generally we don't recommend denormalizing any state of record into s3 path (and instead store links to unique path on s3 in the record field, like in example above). But if you are 100% sure this kind of sate will be static, you might link to it:filePath: ({originalExtension, record}) => `game_images/${record.static_game_code}.${originalExtension}`! Please note that when upload is done from create view, record will be
undefined.
If you want to draw such images in main non-admin app e.g. Nuxt, you should generate presigned URLs by yourself. Here is NodeJS an example of how to do it:
import AWS from 'aws-sdk';

const s3 = new AWS.S3({
  accessKeyId: process.env.AWS_ACCESS_KEY_ID,
  secretAccessKey: process.env.AWS_SECRET_ACCESS_KEY,
  region: 'us-east-1',
});

export async function getPresignedUrl(s3Path: string): Promise<string> {
  return s3.getSignedUrlPromise('getObject', {
    Bucket: 'my-bucket',
    Key: s3Path,
    Expires: 60 * 60, // 1 hour
  });
}
Alternatively, if you don't want to generate presigned URLs, you might want to make all objects public. Then you will be able concatenate backet base domain and path stored in db, and use it as source of image. Let's consider how to do it.
S3 upload with public access
- First of all go to your bucket settings, Permissions, scroll down to Block public access (bucket settings for this bucket) and uncheck all checkboxes.
- Go to bucket settings, Permissions, Object ownership and select "ACLs Enabled" and "Bucket owner preferred" radio buttons.
Then you can change ACL in plugin configuration:
  new UploadPlugin({
      storageAdapter: new AdminForthAdapterS3Storage({
        bucket: process.env.AWS_BUCKET_NAME,
        region: process.env.AWS_REGION,
        accessKeyId: process.env.AWS_ACCESS_KEY_ID,
        secretAccessKey: process.env.AWS_SECRET_ACCESS_KEY,
        s3ACL: 'public-read',
      }),
      pathColumnName: 'apartment_image',
      allowedFileExtensions: ['jpg', 'jpeg', 'png', 'gif', 'webm', 'webp'],
      maxFileSize: 1024 * 1024 * 20, // 20 MB
      filePath: ({originalFilename, originalExtension, contentType}) =>
            `aparts/${new Date().getFullYear()}/${randomUUID()}-${originalFilename}.${originalExtension}`,
    })
Now every uploaded file will be public so in your custom app you can easily concatenate bucket URL with filePath to get public URL:
export async function getPublicUrl(filePath: string): string {
  return `https://my-bucket.s3.${region}.amazonaws.com/${filePath}`
}
For preview in AdminForth plugin will still use presigned URLs, but you can change it by providing previewUrl function in plugin configuration:
  preview: {
      previewUrl: ({filePath}) => `https://my-bucket.s3.us-east-1.amazonaws.com/${filePath}`,
  }
Make sure that you change "my-bucket" and "us-east-1" to your own settings.
Also you might want to put CDN in front of your bucket, for example CloudFlare. In this case
we recommend route all AdminForth previews over CDN as well for faster worm up and better performance.
If for example your domain is my-domain.com and you bucket has name static.my-domain.com you should change preview URL like this:
  preview: {
      previewUrl: ({filePath}) => `https://my-bucket.s3.us-east-1.amazonaws.com/${filePath}`,

      previewUrl: ({filePath}) => `https://static.my-domain.com/${filePath}`,
  }
Also you will have to enable static website hosting in your bucket settings and set index.html and error.html to empty strings.
Using local storage adapter
The local storage adapter saves files directly on the server’s filesystem and serves them through Express routes. It supports both public and private modes (with presigned URLs).
npm i @adminforth/storage-adapter-local --save
import LocalStorageAdapter from '@adminforth/storage-adapter-local';

new UploadPlugin({
  storageAdapter: new LocalStorageAdapter({
    fileSystemFolder: "./db/uploads",
    adminServeBaseUrl: "static/source",
    mode: "public", // or "private"
    signingSecret: process.env.ADMINFORTH_SECRET,
  }),
  pathColumnName: 'apartment_image',
  allowedFileExtensions: ['jpg', 'jpeg', 'png', 'gif', 'webm', 'webp'],
  maxFileSize: 1024 * 1024 * 20, // 20 MB
  filePath: ({originalFilename, originalExtension, contentType}) =>
        `aparts/${new Date().getFullYear()}/${randomUUID()}-${originalFilename}.${originalExtension}`,
})
adminServeBaseUrl defines the public path prefix. If your AdminForth base URL is /admin, files will be accessible under /admin/static/source/<key>.
Image generation
Upload plugin supports AI generation for images. Yo use it you need to install image generation adapter.
For example for OpenAI models like gpt-image-1.5 (or old DALL-E models):
npm i @adminforth/image-generation-adapter-openai
import ImageGenerationAdapterOpenAI from '@adminforth/image-generation-adapter-openai';

new UploadPlugin({
  ...
  generation: {
    countToGenerate: 2,  // how much images generate in one shot
    adapter: new ImageGenerationAdapterOpenAI({
      openAiApiKey: process.env.OPENAI_API_KEY as string,
      model: 'gpt-image-1.5',
    }),
    generationPrompt: "Generate image for apartment with title {{title}} and description {{description}}",
    outputSize: '1536x1024' // size of generated image

},
Here is how it works:
You can also pass additional parameters to OpenAI API call by using extraParams property:
new ImageGenerationAdapterOpenAI({
    openAiApiKey: process.env.OPENAI_API_KEY as string,
    model: 'gpt-image-1.5',
    extraParams: {
      moderation: 'low',
      quality: 'high',
    },
    outputSize: '1536x1024' // size of generated image
}),
Images editing or post-processing
You can not only generate images from text, but also edit, post-process or improve existing images. E.g. remove texts, add objects, change colors, etc.
Create a new column apartment_source in apartments table, and put another instance of UploadPlugin in the same resource configuration.
Now tweak the current UploadPlugin configuration in a next way:
generation: {
  adapter: new ImageGenerationAdapterOpenAI({
    openAiApiKey: process.env.OPENAI_API_KEY as string,
  }),

  attachFiles: ({ record, adminUser }: { record: any; adminUser: AdminUser }) => {
    // attach apartment source image to generation, image should be public
    return [`https://tmpbucket-adminforth.s3.eu-central-1.amazonaws.com/${record.apartment_source}`];
  },
  generationPrompt: "Remove text from the image",
  countToGenerate: 3,
  outputSize: '1024x1024',
}
attachFiles function can return an array of URLs to images which will be used as input for image generation.
URLs can be absolute HTTP URLs (should be public in this case) or data-URLs (data:image/png;base64,<base64 content of image>).
For example you can use getKeyAsDataURL function from any storage adapter to get image as data-URL:
import { StorageAdapter } from 'adminforth'

let sourceAdapter: StorageAdapter = null;

columns: [
  ...
  {
    name: 'source_image',
  },
  {
    name: 'destination_image',
  }
],
plugins: [
  ...
  new UploadPlugin({
    pathColumnName: 'apartment_source',
    storageAdapter: (sourcesAdapter = new LocalStorageAdapter({
      fileSystemFolder: "./db/uploads",
      mode: "public",
      adminServeBaseUrl: "static/source",
      signingSecret: process.env.ADMINFORTH_SECRET, // secret used to generate presigned URLs
    }), sourcesAdapter),
  }),
  new UploadPlugin({
    pathColumnName: 'apartment_image',
    storageAdapter: new LocalStorageAdapter({
      fileSystemFolder: "./db/uploads",
      mode: "public",
      adminServeBaseUrl: "static/source",
      signingSecret: process.env.ADMINFORTH_SECRET, // secret used to generate presigned URLs
    }),
    generation: {
      attachFiles: ({ record }) => {
        // get picture stored in apartment_source column as data-URL
        return [sourceAdapter.getKeyAsDataURL(record.apartment_source)];
      },
      generationPrompt: "Remove text from the image",
      countToGenerate: 3,
      outputSize: '1024x1024',
    }
  })
]
With thus setup you can upload image to apartment_source column, save entity and then generate new image by clicking on Generate button in the apartment_image to remove any text from the image.
Rate limits
You can set rate limits for image generation per IP address:
new UploadPlugin({
  ...
  generation: {
    ...
    rateLimit: {
      limit: '5/12h', // up to 5 times per 12 hour
      errorMessage: 'You exhausted your image generation limit 5 times per 12 hours, please try again later',
    }
      ...
});
Preview Image Size Configuration
You can set the maximum width for the preview image in the ./resources/apartments.ts file by adding the maxWidth property to the preview configuration:
  ...
  new UploadPlugin({
    storageAdapter: new AdminForthAdapterS3Storage({
        bucket: process.env.AWS_BUCKET_NAME,
        region: process.env.AWS_REGION,
        accessKeyId: process.env.AWS_ACCESS_KEY_ID,
        secretAccessKey: process.env.AWS_SECRET_ACCESS_KEY,
        s3ACL: "public-read",
    }),
    pathColumnName: 'apartment_image',
    allowedFileExtensions: ['jpg', 'jpeg', 'png', 'gif', 'webm', 'webp'],
    maxFileSize: 5 * 1024 * 1024, // 5MB
    filePath: ({originalFilename, originalExtension, contentType}) =>
      `aparts/${new Date().getFullYear()}/${randomUUID()}-${originalFilename}.${originalExtension}`,
    preview: {
      // Global width settings (applies to all views if specific view settings not provided)
      maxWidth: '200px',  // Maximum width for preview images
      minWidth: '200px',  // Minimum width for preview images

      // List view specific settings
      maxListWidth: '300px',  // Maximum width in list view
      minListWidth: '100px',  // Minimum width in list view

      // Show/detail view specific settings
      maxShowWidth: '200px',  // Maximum width in show view
      minShowWidth: '200px',  // Minimum width in show view

      ...
    }

  })

  ...

});
Using plugin for uploading avatar
Let's say, that you want to use upload plugin for uploading avatar for each user. To do this add avatar column to the user resource:
  model adminuser {
    id            String     @id
    email         String     @unique
    password_hash String
    role          String
    created_at    DateTime
    avatar        String?
  }
Then make migration:
npm run makemigration -- --name add-user-avatar-field ; npm run migrate:local
Add this column to the users resource:
...

columns: [

  ...

  {
    name: "avatar",
    type: AdminForthDataTypes.STRING,
    showIn: ["show", "edit", "create" ],
  },

  ...

]

...

plugins: [

  ...

  new UploadPlugin({
    pathColumnName: "avatar",
    storageAdapter: new AdminForthAdapterS3Storage({
      bucket: process.env.AWS_BUCKET_NAME,
      region: process.env.AWS_REGION,
      accessKeyId: process.env.AWS_ACCESS_KEY_ID as string,
      secretAccessKey: process.env.AWS_SECRET_ACCESS_KEY as string,
    }),
    allowedFileExtensions: [
      "jpg",
      "jpeg",
      "png",
      "gif",
      "webm",
      "exe",
      "webp",
    ],
    maxFileSize: 1024 * 1024 * 20, // 20MB
    filePath: ({ originalFilename, originalExtension, contentType, record }) => {
      return `aparts/${new Date().getFullYear()}/${originalFilename}.${originalExtension}`
    },
    preview: {
      maxWidth: "200px",
    },
  }),

  ...

]
And finally add this callback:
  auth: {

    ...
    avatarUrl: async (adminUser)=>{
      const plugin = admin.getPluginsByClassName('UploadPlugin').find(p => p.pluginOptions.pathColumnName === 'avatar') as any;
      if (!plugin) {
        throw new Error('Upload plugin for avatar not found');
      }
      if (adminUser.dbUser.avatar === null || adminUser.dbUser.avatar === undefined || adminUser.dbUser.avatar === '') {
        return undefined;
      }
      const imageUrl = await plugin.getFileDownloadUrl(adminUser.dbUser.avatar || '', 3600);
      return imageUrl;
    },


    ...

  }
And now you can easily update avatar for each user